

NetBeans is a software development platform written in Java. It is an official IDE for Java 8 development. It was developed and released by Sun Microsystems which was later acquired by Oracle. NetBeans 8.2 was released on October 3, 2016.
In this tutorial, we will learn the steps involved in the installation process of NetBeans on MacOS.
The following steps are used to install NetBeans on MacOS.
1) Download the Latest version
In order to install NetBeans on MacOS, we have to download the latest version of NetBeans by visiting its official website I.e. https://netbeans.org/downloads/
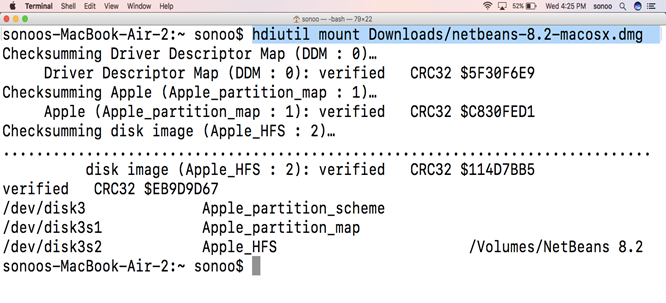
2) Mount the disk image file
The dmg file which is downloaded from the official website of NetBeans is to be mounted to an installer. This can be done with the following command:
3) Install the file
The file is mounted to the volumes directory which contains a package file (.pkg) which is installable by using the installer command. The command needs super user privileges for which, sudo is used.
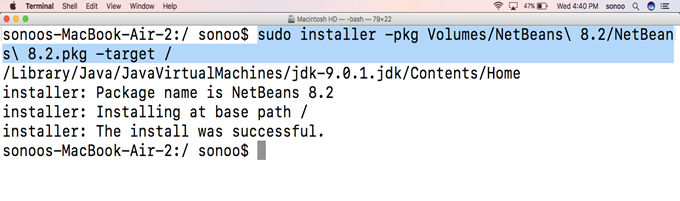
The file will be installed to the target root which is mentioned while installing the file.
4) Unmount the file
After the completion of installation process, we need to unmount the installer. This can be done by using the option Unmount with hdiutil command.
$ hdiutil unmount /Volumes/NetBeans\ 8.2
Well, we have done with the installation process of NetBeans 8.2 on MacOS.